As White Rino Fab continues their work, more parts are arriving.
I decided to get an entire rear suspension from Ron Sutton Racing, to compliment the front clip from him. The housing is a 9" Ford made by Speedway Engineering. It has Ron's shock mounts, watts link mounts, sway bar link mounts, threaded bungs for cooling lines, full floater ends, and 35 spline axles.
This shot shows the watts link and rear sway bar. The watts link will mount to the frame, instead of the rear end housing. It is also easily height adjustable in fine increments with a threaded rod.
The housing needed to have mounting ears for the torque arm added. The lower link mounts had larger holes and were further back on the housing, requiring longer links bars and larger rod ends.
White Rino removed the old setup (which I had already modified), and installed the new.
Ron's new rear sway bar has really nice billet aluminum arms with multiple holes to allow for tuning of the rate.
The rear bar links are directly under the frame rail, giving more tire clearance to the inside than my original setup provided.
Ron provides top quality hardware in all his kits. Some bolts are even hollow.
The rear end housing will have Seals-It inner axle seals to hold the gear oil in the center portion of the housing.
My new Forgeline GA3R wheels have arrived. True 3 piece wheels with dark gray inner shells to hide brake dust, brushed and clear powder coated outer shells, and gold centers.
The rear wheels are 18x13, and have some dish, due to the narrowed rear housing. They will mount a 335 wide BFG Rival tire.
The fronts are 18x11, and have massive backspace to work with Ron's long control arms.
My favorite part of the wheel is where they machine each spoke into an I-beam profile.
Ron's front spindle bearings are so large that a wheel cap cannot be used. So he had his bolt on grease caps shipped to Forgeline for them to machine their logo into them. I plan on painting the logo red.
Same on the rear. Custom machined caps will cover the floater axles.
Rear brakes were upgraded to a more race oriented caliper and rotor. Floater hubs look mean. Long studs will allow wheel spacers for tuning front/rear balance.
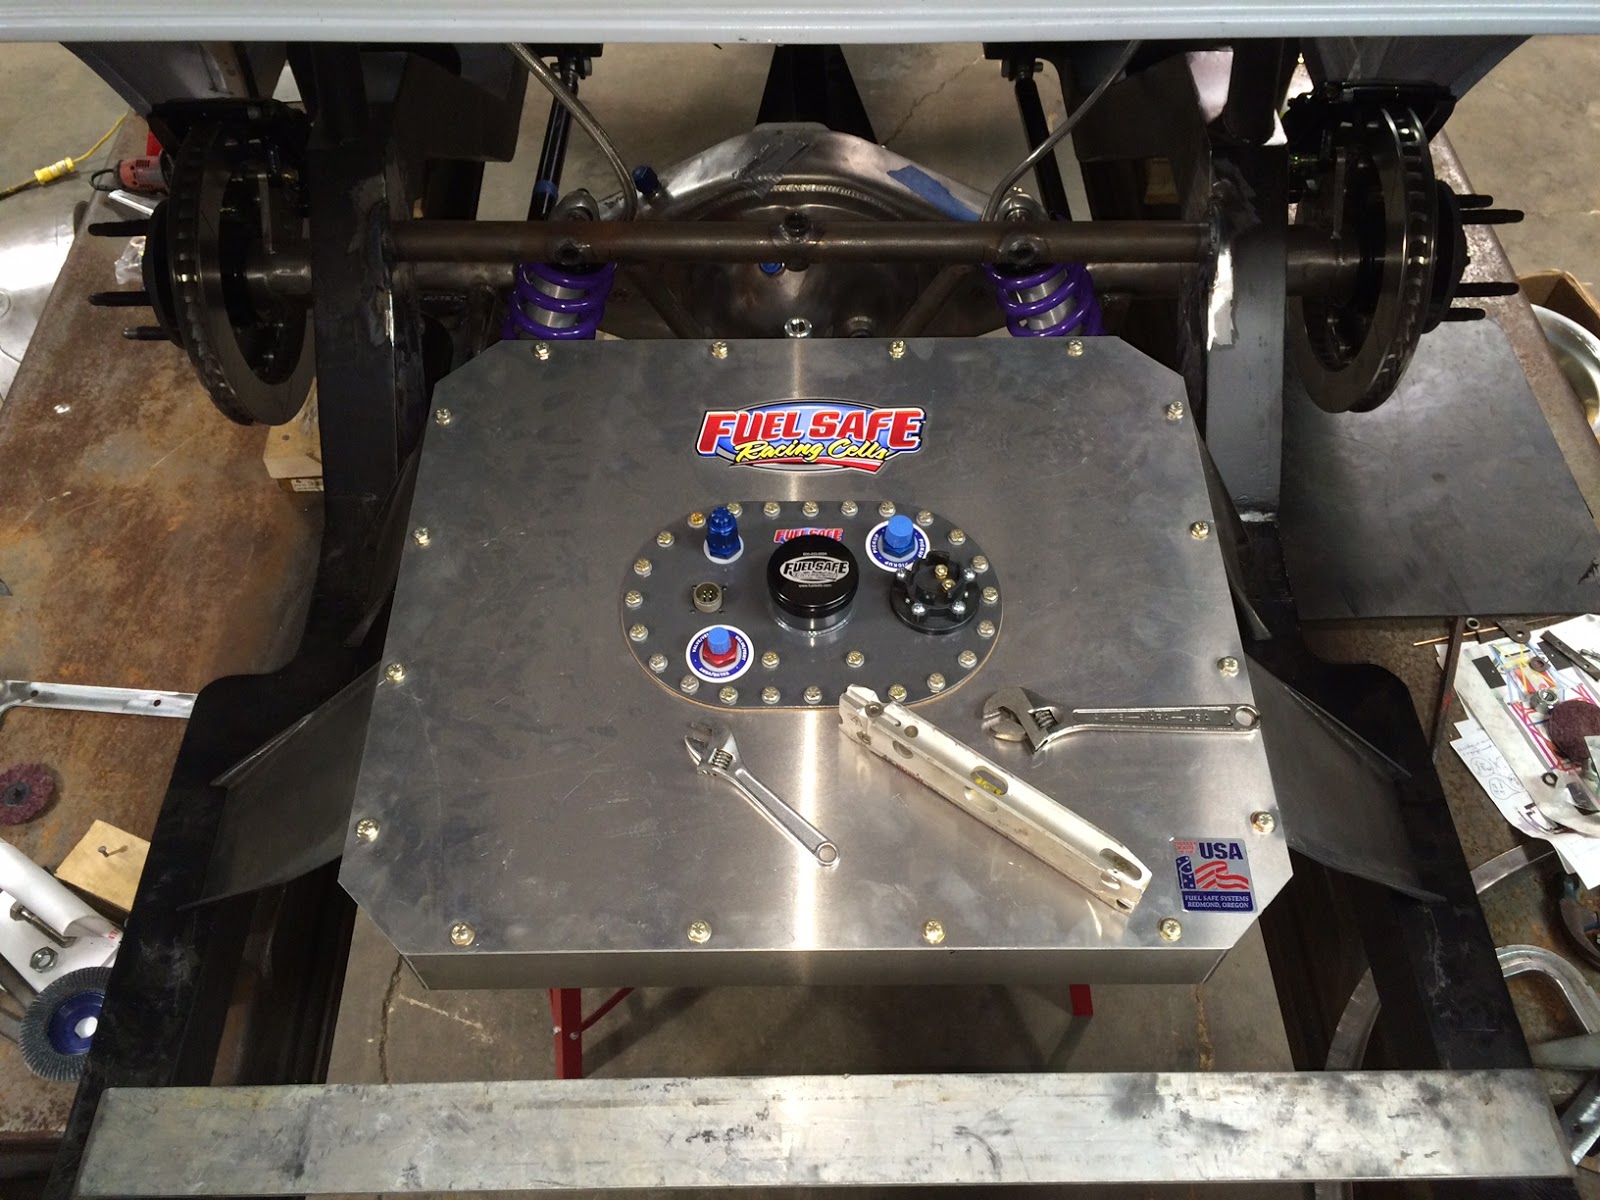
Ron worked with Fuel Safe to develop a fuel cell for pro touring cars. It has an internal electric pump connected with a mil-spec wiring connector. It also has a sender for a fuel gauge.
Here is another feature that makes the fuel cell special. The bottom tapers upward toward the rear. This keeps it from hanging down below the framerails and being so visible from the sides and rear. The whole cell will have its own cage built from 1" square steel tube.
I also bought a custom radiator from Ron made by C&R. It has a custom width to fit between the custom, narrower frame rails.
Check out the screw in hose ends, located for a Buick. It also has dual Spal fans and shroud.
Power steering cooling lines were built in to the driver side, where the pump will be.
Here is the late model GM style power steering pump, designed to compliment my steering rack. A custom mount will be required. It has a RTD type pulley, to tie into the custom accessory drive I am dreaming up.
Looks like plenty of room for belts.
Steve Reynolds Engineering, a Buick specialist, built me a road race oil pan. Lots going on inside this thing, including a huge fitting for the suction side of the scavenger oil system, and a bung for a temp gauge.
Mocking it up in the chassis showed it sticking down below the frame rails. Comparing it to a stock pan showed that it was 1" deeper than stock. Oops. This is common for drag racers, but not what I needed. I sent it back to SRE and he modified it to be 1" shallower.
I had T A Performance, the only Buick engine specialty supplier around, make me a custom harmonic balancer. What makes it custom is the 3 bolt, BBC bolt pattern for the pulley. This will help me come up with a trick accessory drive system.
Here you can see the stock balancer has 6 bolts for the pulley. Also note how deep the crank bolt is.
The aftermarket balancer puts the crank bolt much further forward. Now I need a longer crank bolt.
Going back to the front clip from RSRT, check out the beefy steering arms with removable slugs to adjust their ratio. The tie rod attachment point can move up to 1". This is the autocross setup, with a super fast ratio.
On the fabrication side of things, they made new seat mounts to fit the new floor pans, which will be higher than stock. So much for the ones I made for the stock pans. Notice that the torque arm cross member now carries the inner seat mounts. Also check out the slotted mounts so we can fine tune the seat position side to side.
CNC plasma cutters let White Rino make some intricate designs.
Headers are now done, with some really long tubes for torque.
We went with V-band clamps instead of the old school 3 bolt flanges.
A small feature that I did was adding some fore/aft engine travel limiters. I may throw on some drag radials one day and go drag racing, so these will keep the motor in place in that event.
Floor pans are coming along. Notice the hump to clear the headers. Also the driveshaft tunnel needed to be taller to clear the driveshaft.
This is one of the panels going below the window opening where the back seat was.
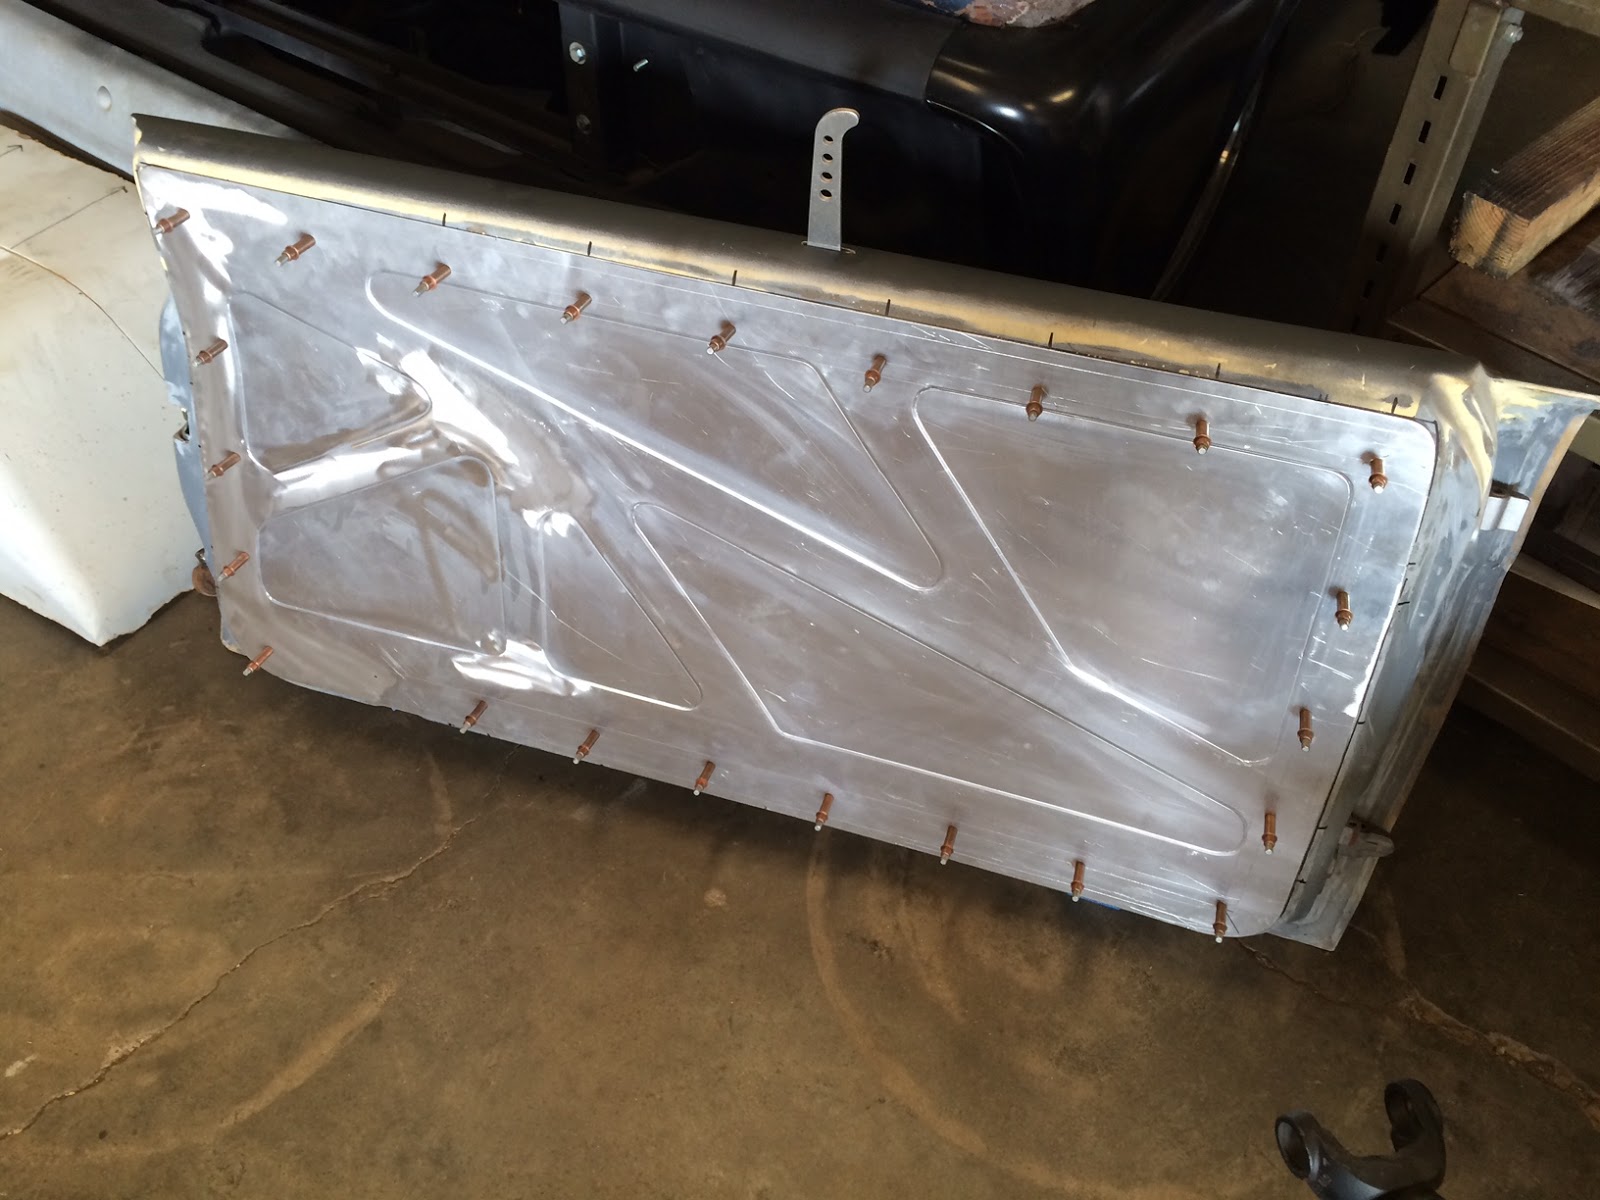
The fiberglass doors are being prepped with aluminum flanges to accept a removable aluminum panel.
The aluminum door panels mimic the cage members. They will be mounted with equally spaced stainless steel 8-32 button head screws.
This takes us through the end of 2015.
The body has been off and on the chassis a million times.
The chassis looks like a toy without the body.
The collapsible, race steering column was mounted with a cool bracket from Joes. This was re-positioned a couple of times, and ultimately scrapped for a fully custom built bracket.